Groove
Machine
Helping kids to understand computing not just with their minds, but with their hands, ears, and bodies

Project description:
GrooveMachine is a museum exhibit that introduces children aged 10–14 to programming fundamentals through collaborative music-making. I was the lead designer and technical director during a postdoc at Georgia Tech. We launched the exhibit at the Museum of Design Atlanta and later at the Museum of Science and Industry in Chicago in 2018.
Role:
Lead hardware and interaction designer; C++ implementation
Introduction
GrooveMachine was a project funded by the National Science Foundation, an interactive museum exhibit that aimed to teach kids the fundamentals of computing through musical interaction. It was based in the Digital Media department and Center for Music Technology at Georgia Tech, and during my postdoctoral fellowship I was its technical and design lead.
Over two years of iteration I, along with a talented team of Georgia Tech graduate students, re-designed and re-implemented this exhibit to drive computation through embedded interaction with custom-made hardware. It was exhibited widely, most notably at the Museum for Science and Industry in Chicago in July 2018.
Understanding the audience
When I came into this project the target group for which we were designing this exhibit and interaction was "kids". That’s far too broad to be useful; it includes everyone from newborns to high school students, and there's huge and fundamental differences across that age range, and a five-year-old and a 14-year-old differ dramatically in size, cognition, and interaction style.
Through consultation we narrowed the focus to ages 10–14. This is still a diverse group, but provided some stable touch points that we could design for such as:
- Physical ability (height, hand size, dexterity)
- Reading and tech literacy
- Peer group interaction styles
This framing was inspired by Brenda Dervin’s Sense-Making Methodology, which emphasizes the role of context and prior knowledge in making sense of new and unfamiliar situations.
You can't design for "kids". You have to design for specific kids.
Connecting music and code
I needed a way to link musical interaction with computational logic in a form that made sense and invited play. Many computing metaphors had been tried before (e.g. puzzle-piece interfaces representing data parameters), but user feedback showed they weren't engaging or understandable. The exhibit had also lacked collaborative work and a cohesive sound profile.
For this iteration I focused on step sequencers. These are loop-based musical systems where individual sounds in each step can be modified with effects, and the way the loop is played back can be changed on the fly. These naturally map to loop structures in programming:
- A loop (the sequencer itself)
- Data (each musical step)
- Parameters (filters, direction, ramp, etc.)Global variables (tempo, sound sets)
This paradigm also created a single, shared musical and computational structure that could be collaboratively manipulated by multiple players. The challenge would be, however, designing this system so it was laid out in a circle; step sequencers are typically a line of rectangular steps in a row that light up as they're played (see the Roland 909 pictured here), and we required something that could be shared on a table.

Designing the sequencer
To depart from traditional rectangular sequencer layouts and make something sculptural and alluring, I drew inspiration from Islamic geometry, a gridless and proportion-based system of overlapping lines and curves to create tessellation. I designed an octagonal layout using hand-drawn kite-shaped tiles arranged around an eight-sided hub, allowing for both logical structure and physical beauty.

Each playable tile (the kites) represented a single musical step that would be inserted into the loop when connected to the hub. Secondary tiles could be added behind each kite to layer effects (volume ramp, reverse play, low-pass filter and chorus), offering tangible control over parameters.
Each playable tile (the kites) represented a single musical step (see the photo of the paper prototype, these kites are blue). Secondary tiles could be added behind each kite to layer effects, volume ramp, reverse, filter, chorus—offering tangible control over parameters. Adding these parameters would be akin to transforming the data; the auduio sample itself didn't change, just the way it's expressed. Additionally, these secondary pieces could be tessellated in up to four ways, allowing for many ways to get a result and success feedback.

Building it
We prototyped the tiles using 3D printing, with magnetic pogo-pin connectors and translucent domed lids. The lids served three functions:
- Feedback: LEDs lit up when correctly placed
- Clarity: Inner LEDs pulsed when steps played, showing active states
- Constraints: The shape only fit one way, helping guide use
Electronics were kept minimal and robust:
- Each piece had an ATTiny microcontroller that activated when connected through a passive pin system
- An Arduino Mega scanned for connections and relayed data over I2C. When the central system sensed a piece had connected to the hub, it scanned the bus to identify the piece and place its associated sound in the loop. Bus scanning took place at regular rates to keep track of added modifier blocks.
- Sample playback was handled in Max for Live. I developed the communication layer between the system and the DAW in C++ using openFrameworks, which communicated sample data to the DAW via OSC.
These pictures show the evolution of the hardware, from paper prototpyes testing the passive pin system (these actually worked!) to the final version:


Takumi, one of the graduate assistants, came up with a really good solution for a big problem - the only thing that should connect to the hub was the main kites, and we needed a way of ensuring that other pieces couldn't connect and cause frustration for players or technical problems.
To make sure that other pieces didn't connect he developed a system of tabs on the hub so only the central kites, which had grooves, would connect properly:


We printed translucent lids for the pieces, so they looked really cool when they were lit up. This was to make the exhibit visually alluring and interesting, because museums are busy places and there's a lot of competition for attention. We also wanted there to be some kind of visual reward for putting things in a productive place.
The lids were domed, which a deliberate feature that meant that the pieces they could only be used in one orientation, and the kids were less likely to try to stack them, turn them upside down, or use them in ways that the system wouldn't recognise.
This is my favourite picture from the prototyping phase, which I took at the moment I got everything working reliably for the first time with the first prints of the pieces with electronics on tiny breadboards:

Embodied interaction
The central sequencer supported four players. But what about the rest of the exhibit space?
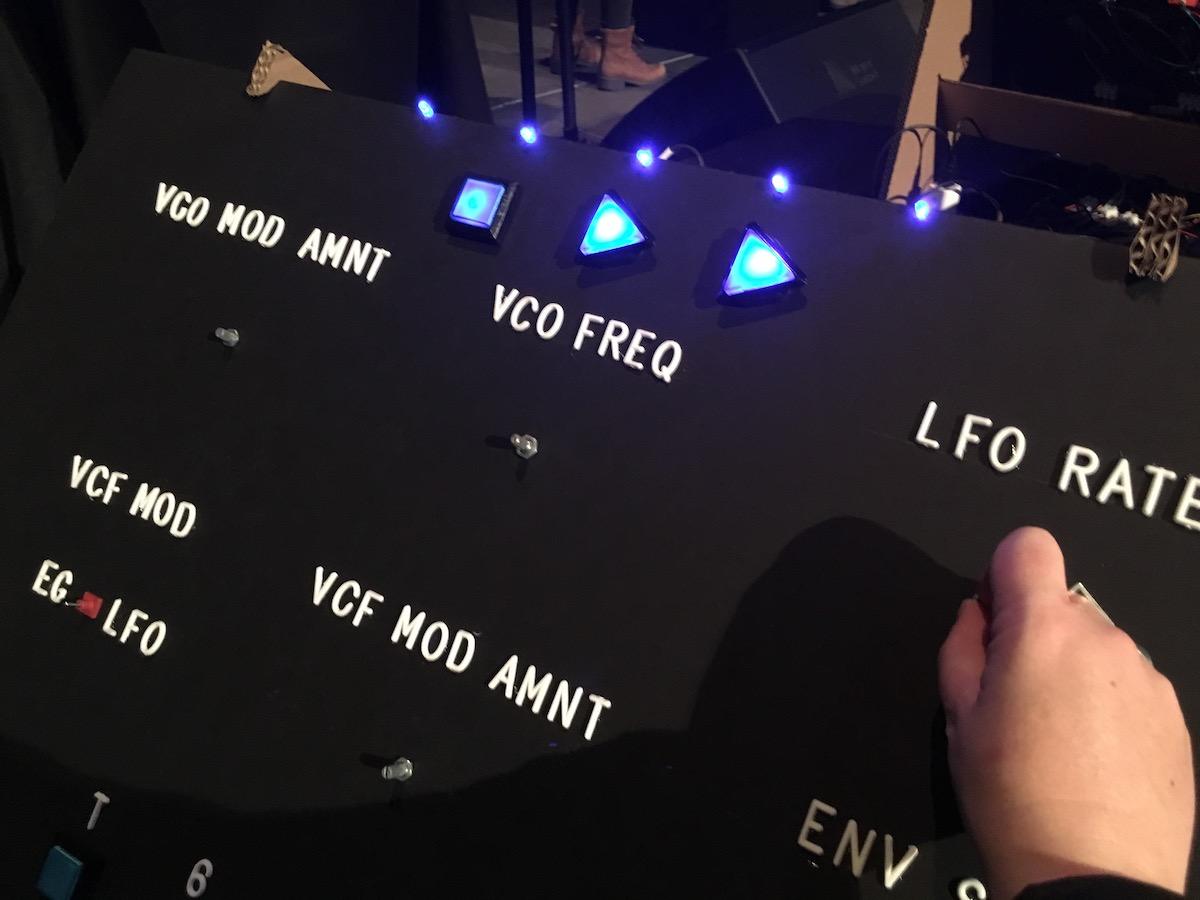
We kept remarking that it was a shame the table wasn't round, but then I realised that the corners presented an opportunity for four external controls (and space for four more kids). The table corners became four global controls, operated with arcade-style joysticks and buttons to provide physical touchpoints that kids would find familiar, tactile, and inviting, modeling how global variables influence a system. These adjustable parameters were:
- Tempo (joystick)
- Global volume (joystick)
- Changing sound sets (a set of 4 arcade buttons)
- Step direction (a giant arcade button)
I prototyped the housing in foamcore, and then industrial design graduate Bruno Berry translated it into a full plywood enclosure using CAD.
The end result was an exhibit that used musical interaction as a metaphor for computational processes. A step sequencer represents a loop control structure, where four players can put sounds into a loop and attach up to 4 effects. Like a loop, the step sequencer never stops. The outer corners provided space for up to 4 more kids to play with global variables, which were volume, loop speed, sound set, and volume.


Presenting
In the two years I worked on this project we presented it several times at museums and events, including the Atlanta Design Museum and the Museum of Science and Industry in Chicago.
Kids instantly understood the interaction, collaborated intuitively, and explored both the musical and computational affordances of the system. It was robust enough to survive a museum setting, and expressive enough to invite repeat exploration.
There's a good video of the system in action on the Museum of Design Atlanta's Facebook page, and here's an image of Groove Machine in action in Chicago and a video of it working:

Later iterations
In 2019, I led the initial design of a web-based version of GrooveMachine, adapting the core interaction to a browser-based step sequencer. This was developed by Kaushal Sali, Cristina Bui, and Benjamin Genchel, and presented at the Web Audio Conference in a paper titled: From the museum to the browser: Translating a music-driven exhibit from physical space to a web app.
Credit to the amazing development team
Thank you so much to the wonderful and talented team of assistants that worked on GrooveMachine in 2018 and 2019. These included: Takumi Ogata, Richard Savery, Ryan Rose, Bruno Berry, Benjamin Genchel, Christina Bui, Kaushal Sali, and Kate Bosen. (If your name should be on this list and I missed it, please email me and let me know!)
GrooveMachine makes logic tangible, musical, and social, revealing that the principles behind computing are just another kind of rhythm we can all learn to play.
See More