Mission Control
A single synth divided into interfaces for three players

Project description:
Mission Control was a huge three-person interface for a single synthesizer. Built in collaboration with Ryan Rose and Richard Savery for the Moog Hackathon, Mission Control took instpiration from the original NASA control rooms where a group of people shared a single set of controls. Mission Control was the winner of the Moog Hackathon and was performed at the Guthman Musical Instrument Contest in 2019.
Role:
Interface design; hardware engineering
Introduction
For the 2019 Moog Hackathon I collaborated with Ryan Rose and Richard Savery to hack the Moog Werkstatt and make it into something larger than itself. For this hackathon Moog provided each team with a Moog Werkstatt to hack in any way we chose.
We took inspiration from the NASA control rooms from the 50s and 60s, in which a huge array of controls for one task would be spread across a group of people. We randomly divided the Werkstatt's controls among three overesized interfaces, and playing it required close cooperation. I made the interfaces.


Moog Werkstatt; Joann Morgan, the first woman to work in NASA's mission control (Apollo 11)
Distributed cognition for music
Modular synthesizers are complicated sound generators, with a dizzying array of controllable parameters available. Though precise control is important for fine-tuning every aspect of the sound and behaviour of the system, the number of available controls is overwhelming, often far greater than any single human perception system can reasonably remember.
We thought about other systems that were so big that they had to be controlled cooperatively. "Distributed cognition" is a concept that emerged in the mid to late 20th century, and refers to the idea that technological systems are sociocultural, "a collection of individuals and artifacts and their relations to each other in a particular work practice" (Edward Hutchins, quoted here). We decided to test this idea by breaking out the Werkstatt's controls to three huge interfaces, which gave us each a small number of controls to concentrate on and required us to find a way to cooperate.
Distributing the controls
The available controls were as follows:
- VCO: Frequency (potentiometer), Wave shape (pulse/saw, switch), PWM (potentiometer)
- VCF:Cutoff (potentiometer), Resonance (potentiometer)
- VCA: On/Envelope generator (switch)
- VCO modulation: Source (envelope generator/LFO, switch), Amount (potentiometer), Destination (PWM/frequency, switch)
- VFC modulation: Source (envelope generator/LFO, switch), Amount (potentiometer), Polarity (+/-, switch)
- LFO: Frequency (potentiometer), Waveshape (square/triangle, switch)
- Envelope: On/off (switch), Attack (potentiometer), Decay (potentiometer)
- Glide: Amount (potentiometer)
- 12 notes of a 12TET scale
This meant there was a total of 18 controls parameters and 12 notes of the scale. We randomly assigned these to the 3 interfaces (taking a nod from John Cage we drew them out of a hat) so we each had 6 controls and 4 notes of the scale, plus the tonic.
Making the synth
This project took place as part of the Moog Hackathon, so we had 48 hours to make it work. There were 3 stages:
- Break out all the controls
- Design and produce the interfaces
- Connect the interfaces to the central system
- Add recording/looping features
Breaking out the controls
My role was making the interfaces, so the first thing I did was make it possible to break out all controls. I desoldered all the potentiometers from the Werkstatt's internal PCB and disconnected the switches, which created places for me to solder new, longer wires to break them out to the huge interfaces.
Producing the interfaces
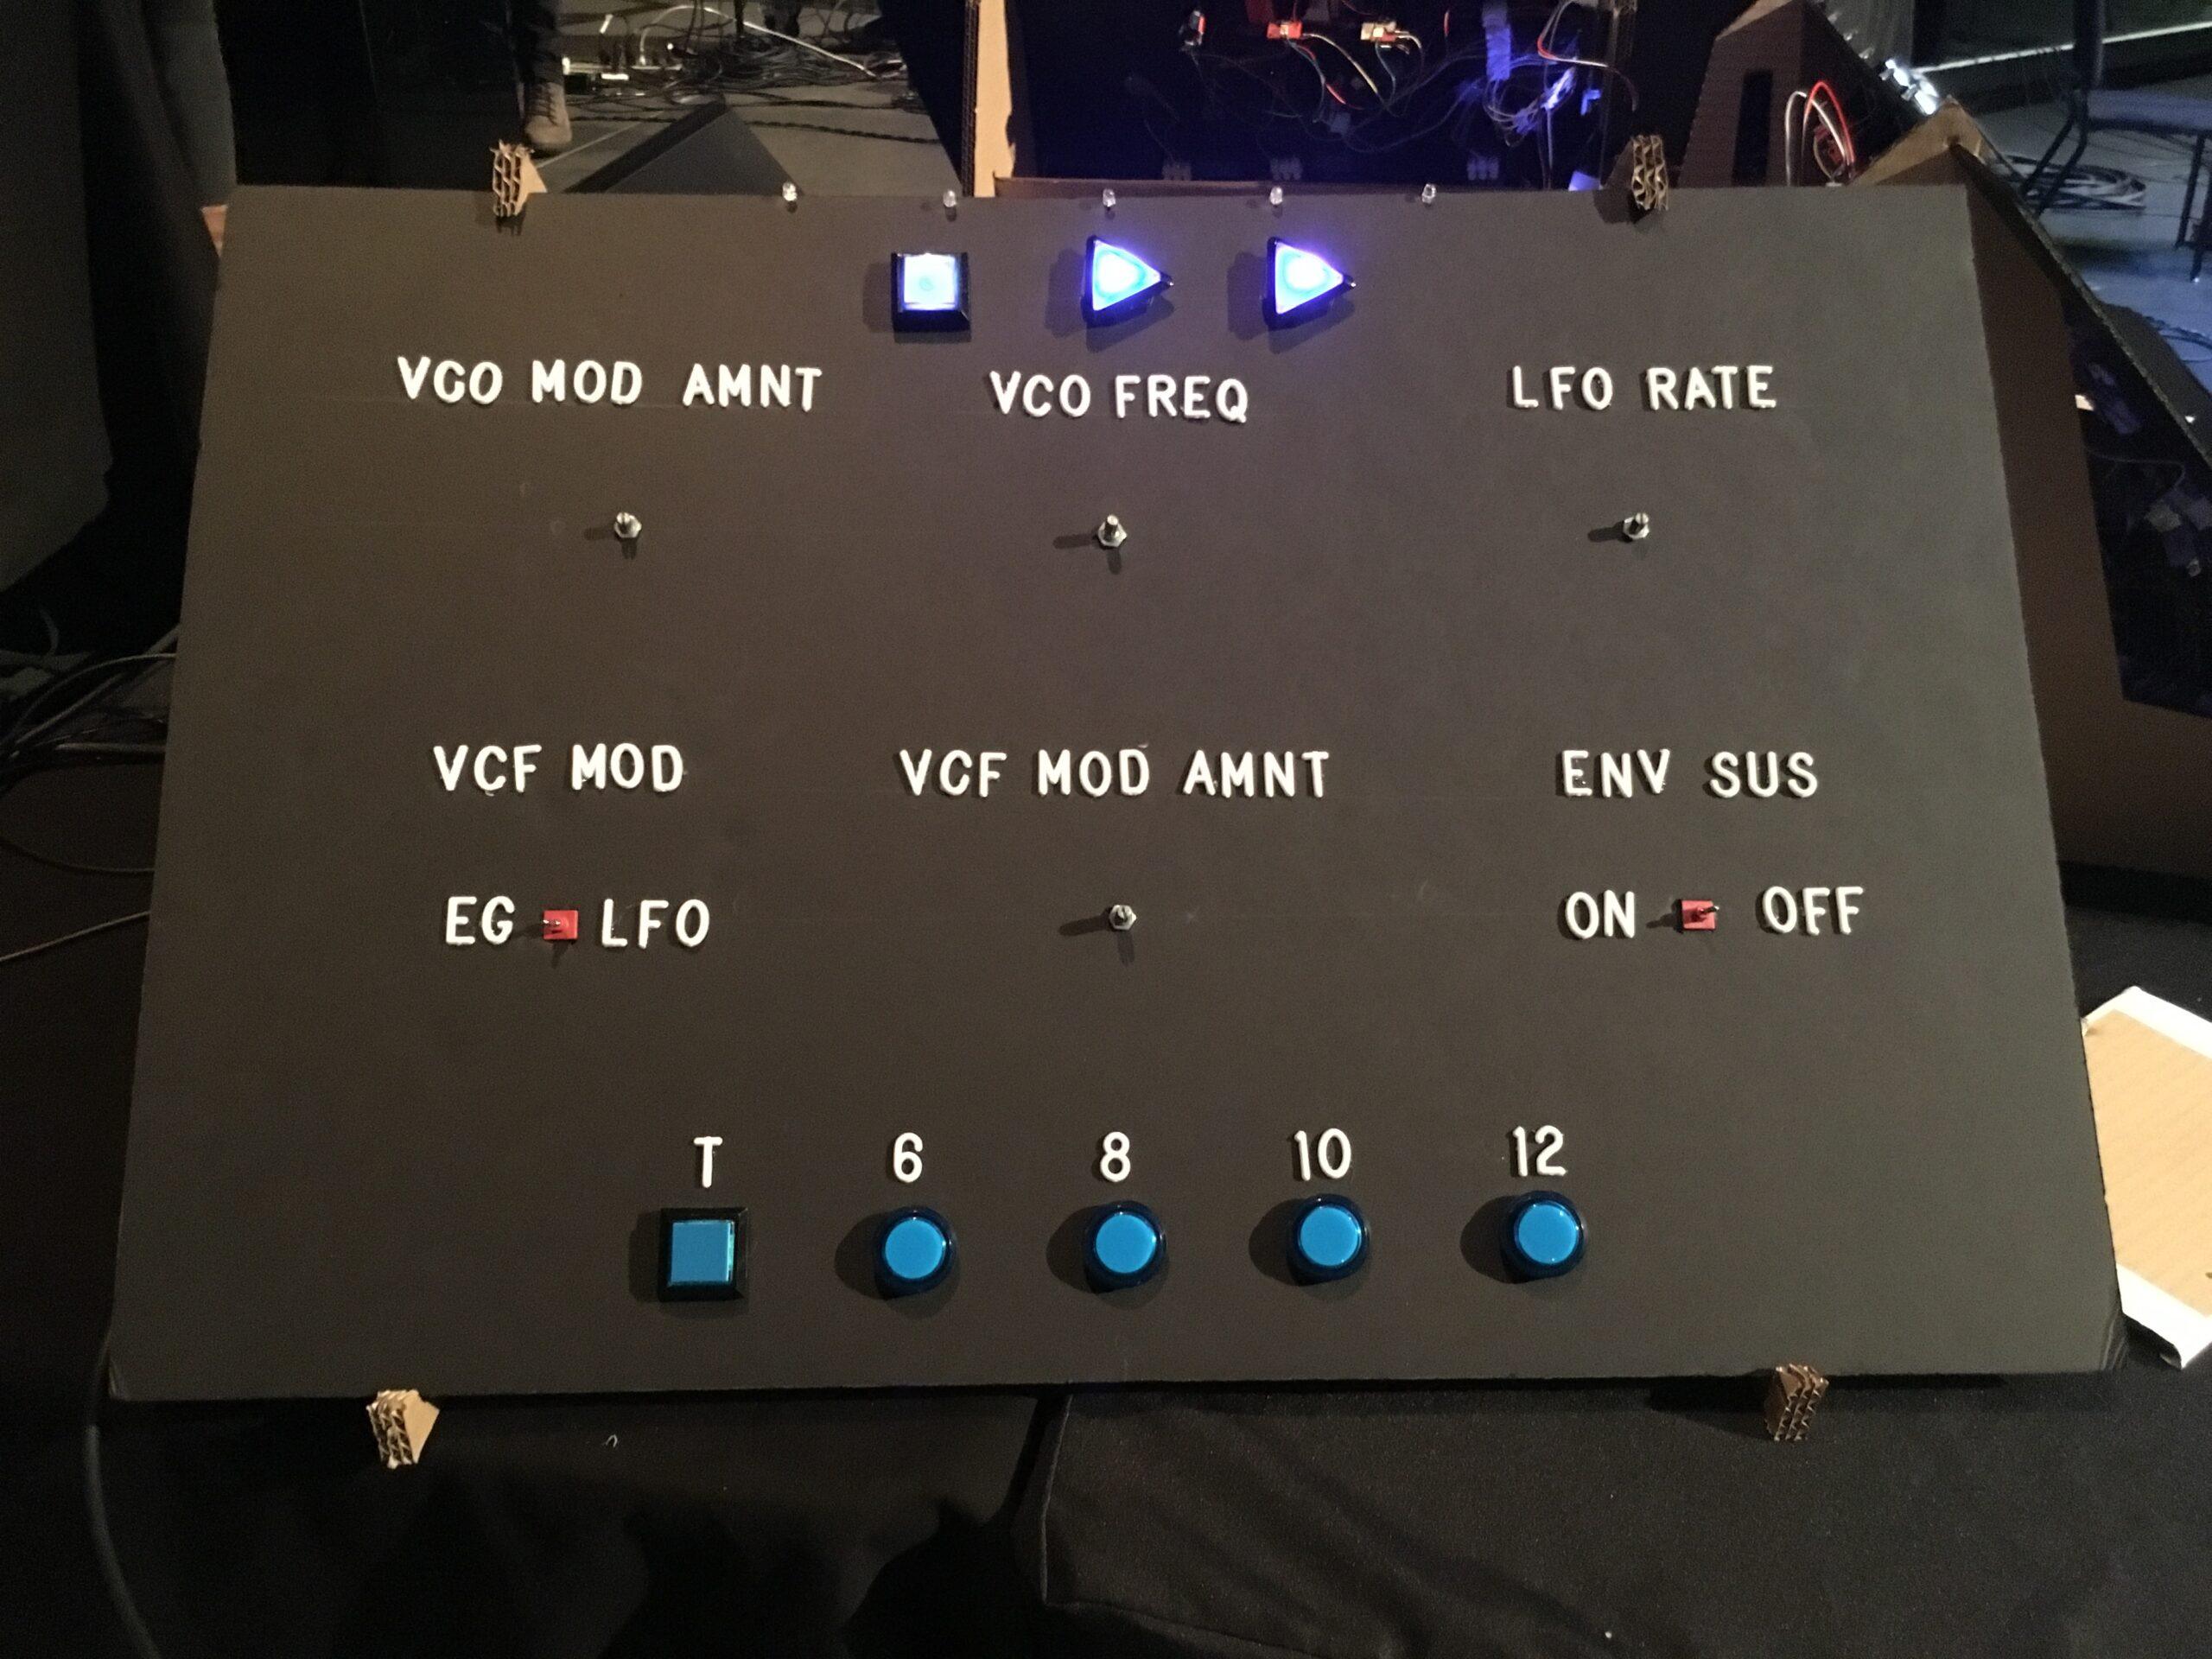
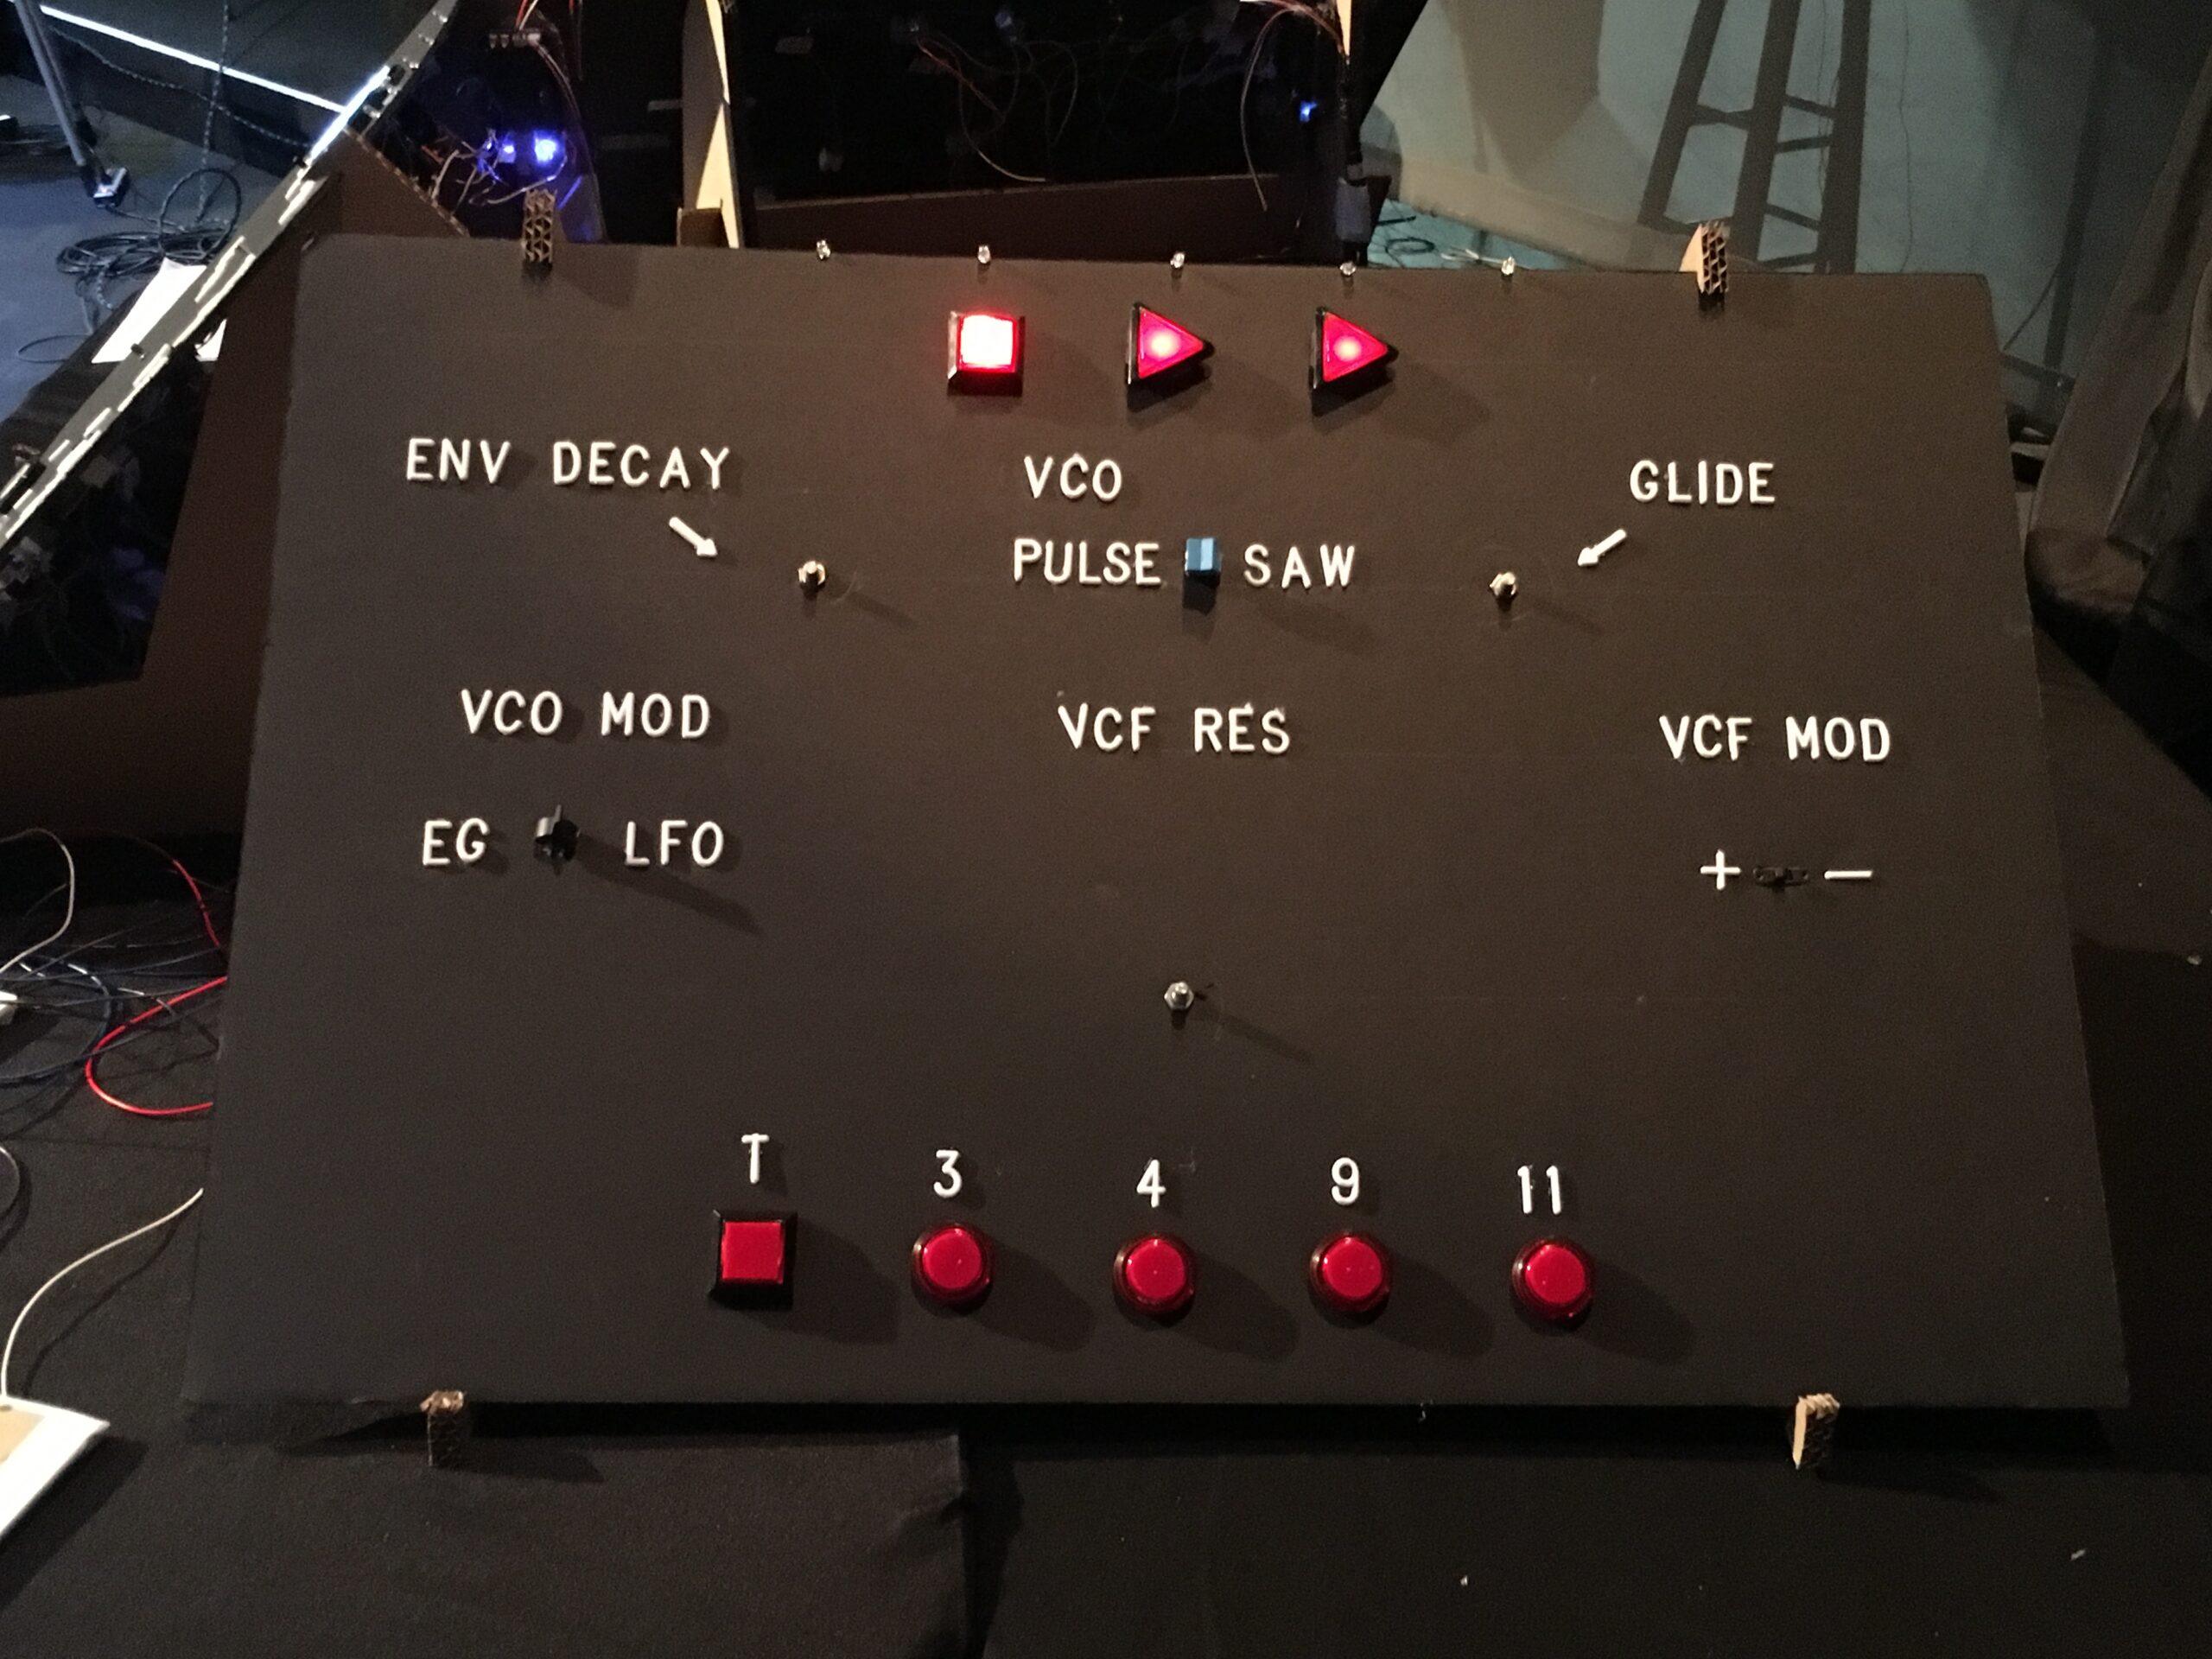
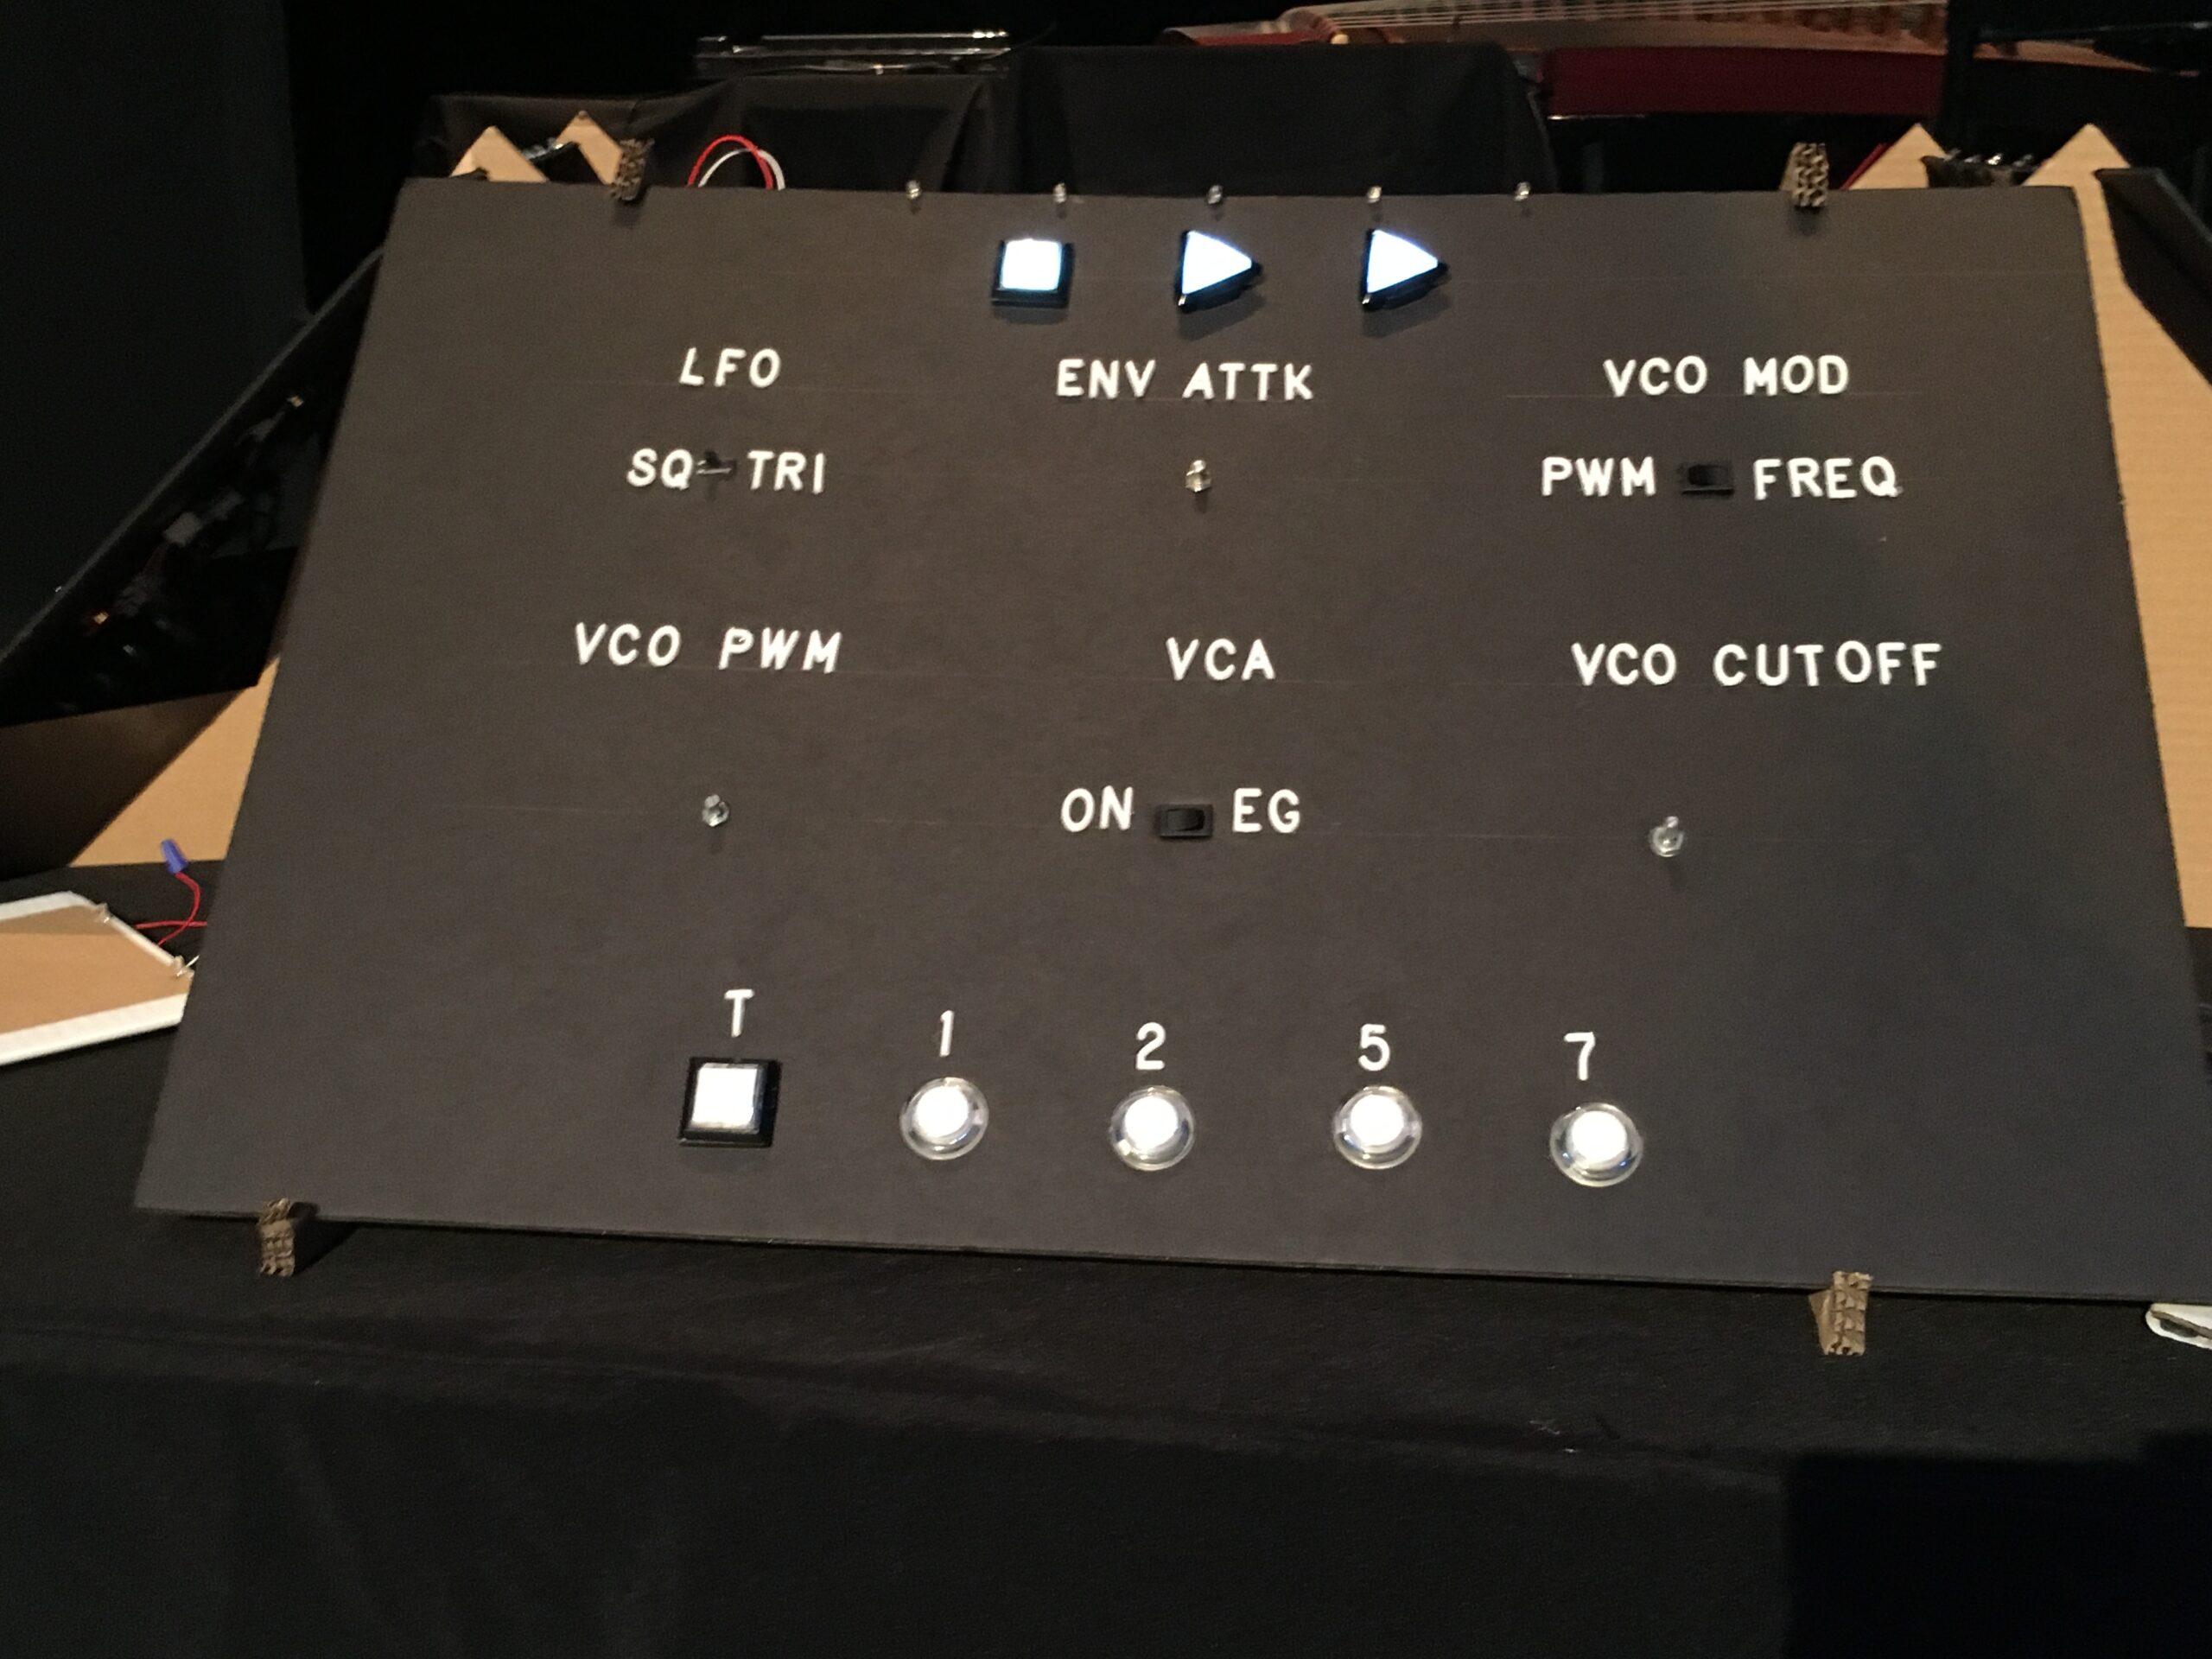
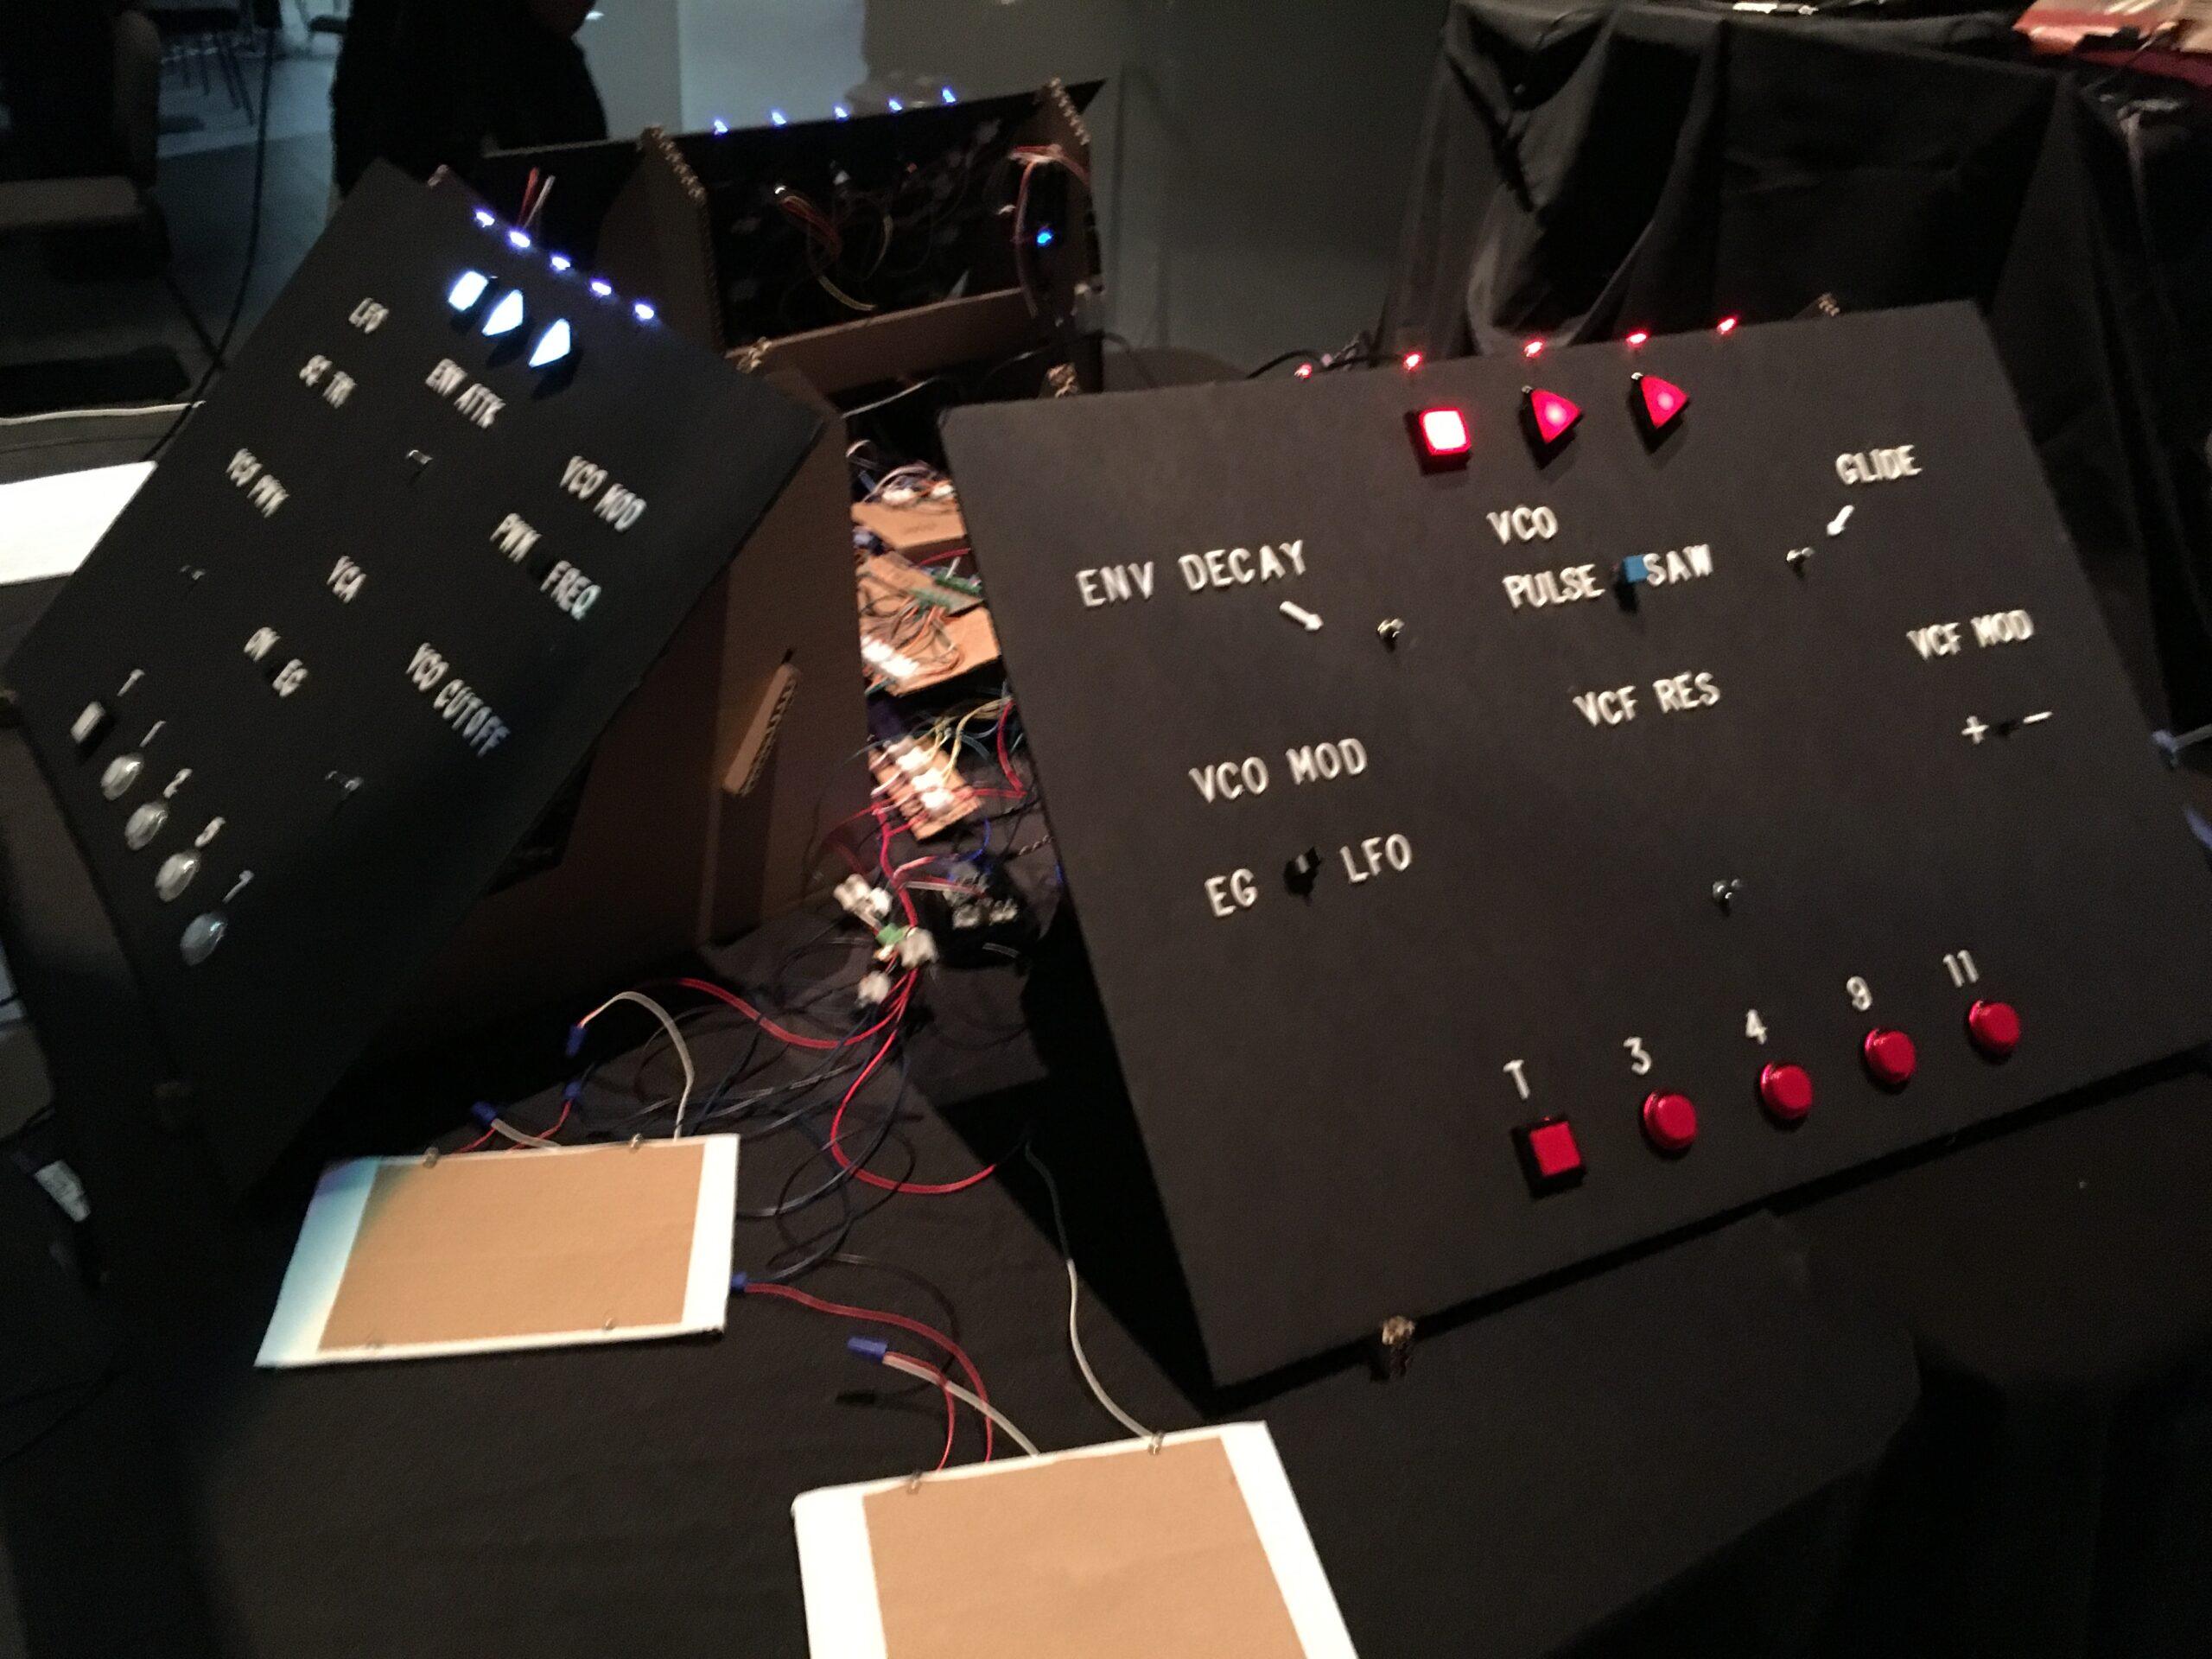
I made the interfaces out of paper. I love paper: it's cheap, available, comes in a huge range of thicknesses, densities and colours, and you can laser cut it, layer it, and create all kinds of shapes and forms quickly and easily. It's perfect for a hackathon where we had to turn these interfaces around quickly. I found three large pieces for the interfaces and covered them with black paper. I then laser cut stands from layers of cardboard so the interfaces could stand at a comfortable angle. For the control labels I found some plastic letters from a letter board set, which were big enough to be legible at a glance.
Along the bottom was the keyboard. We each got access to the tonic note of the scale, and four additional random tones from the 12TET set.


Implementing live looping
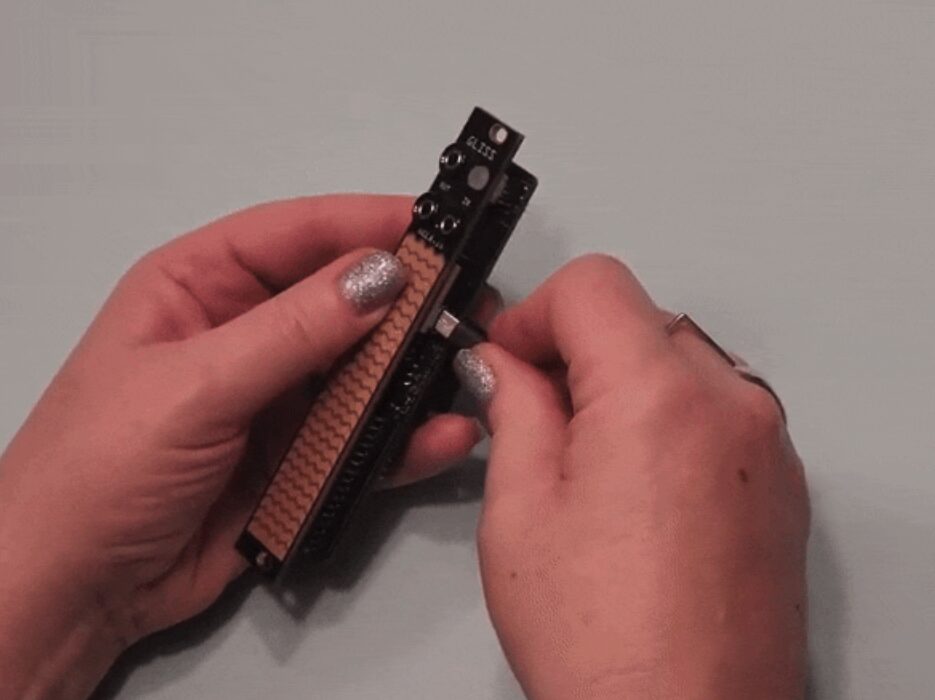
Ryan implemented live looping using a Bela system attached to each interface. The idea was that each of us could record rhythmic patterns using a cardboard drum pad, and start and stop our loop whenever we wanted. I built the pads out of cardboard (complete with matching LEDs that lit up when the pad was struck), and set arcade buttons for start/stop/record controls across the top of each interface.
Each of us could create and play back our own independent loops. Using the arcade buttons we could start, stop, and play back recordings in a loop.


Adding a way to understand status
One of the things that I was very concerned about was adding some way of understanding a central aspect of what the system was doing.
I embedded a row of LEDs across the top of each interface, and all these LEDs responded to the system's low frequency oscillator, or LFO. This meant the rate at which they went from dark to bright represented the frequency, and the way this interpolation happened told the player about the wave shape. Here's me demonstrating it:
The result
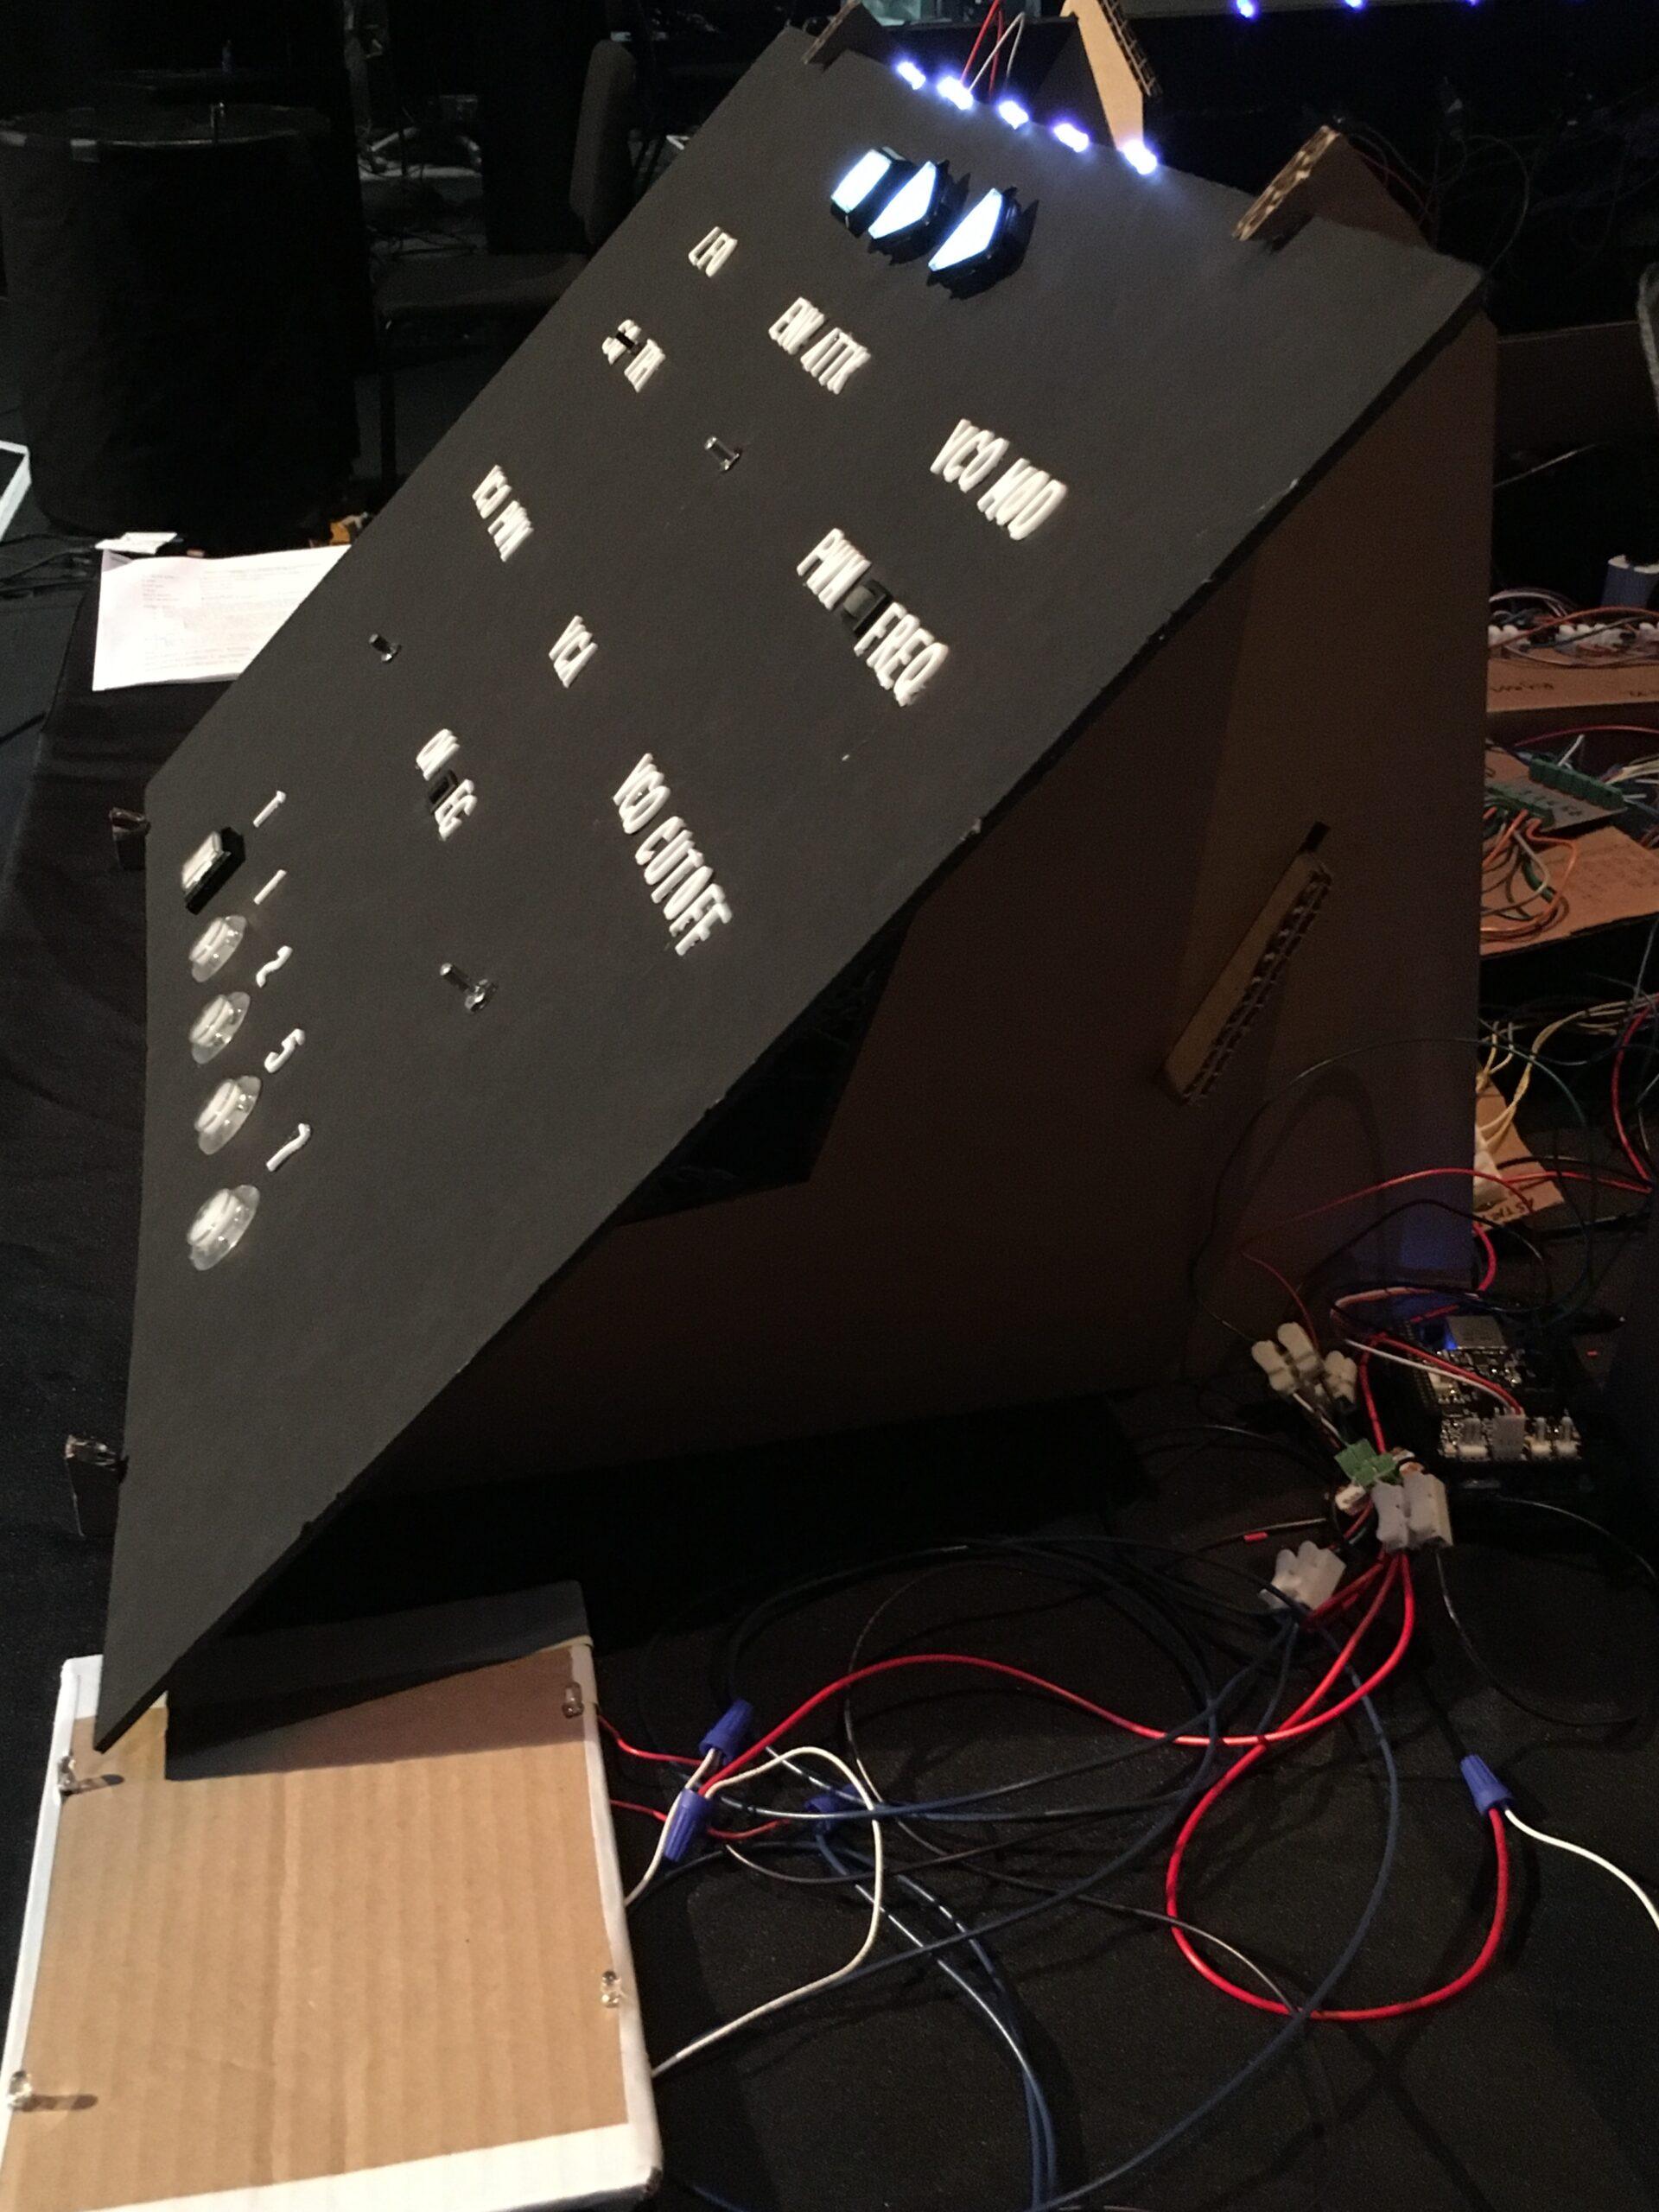

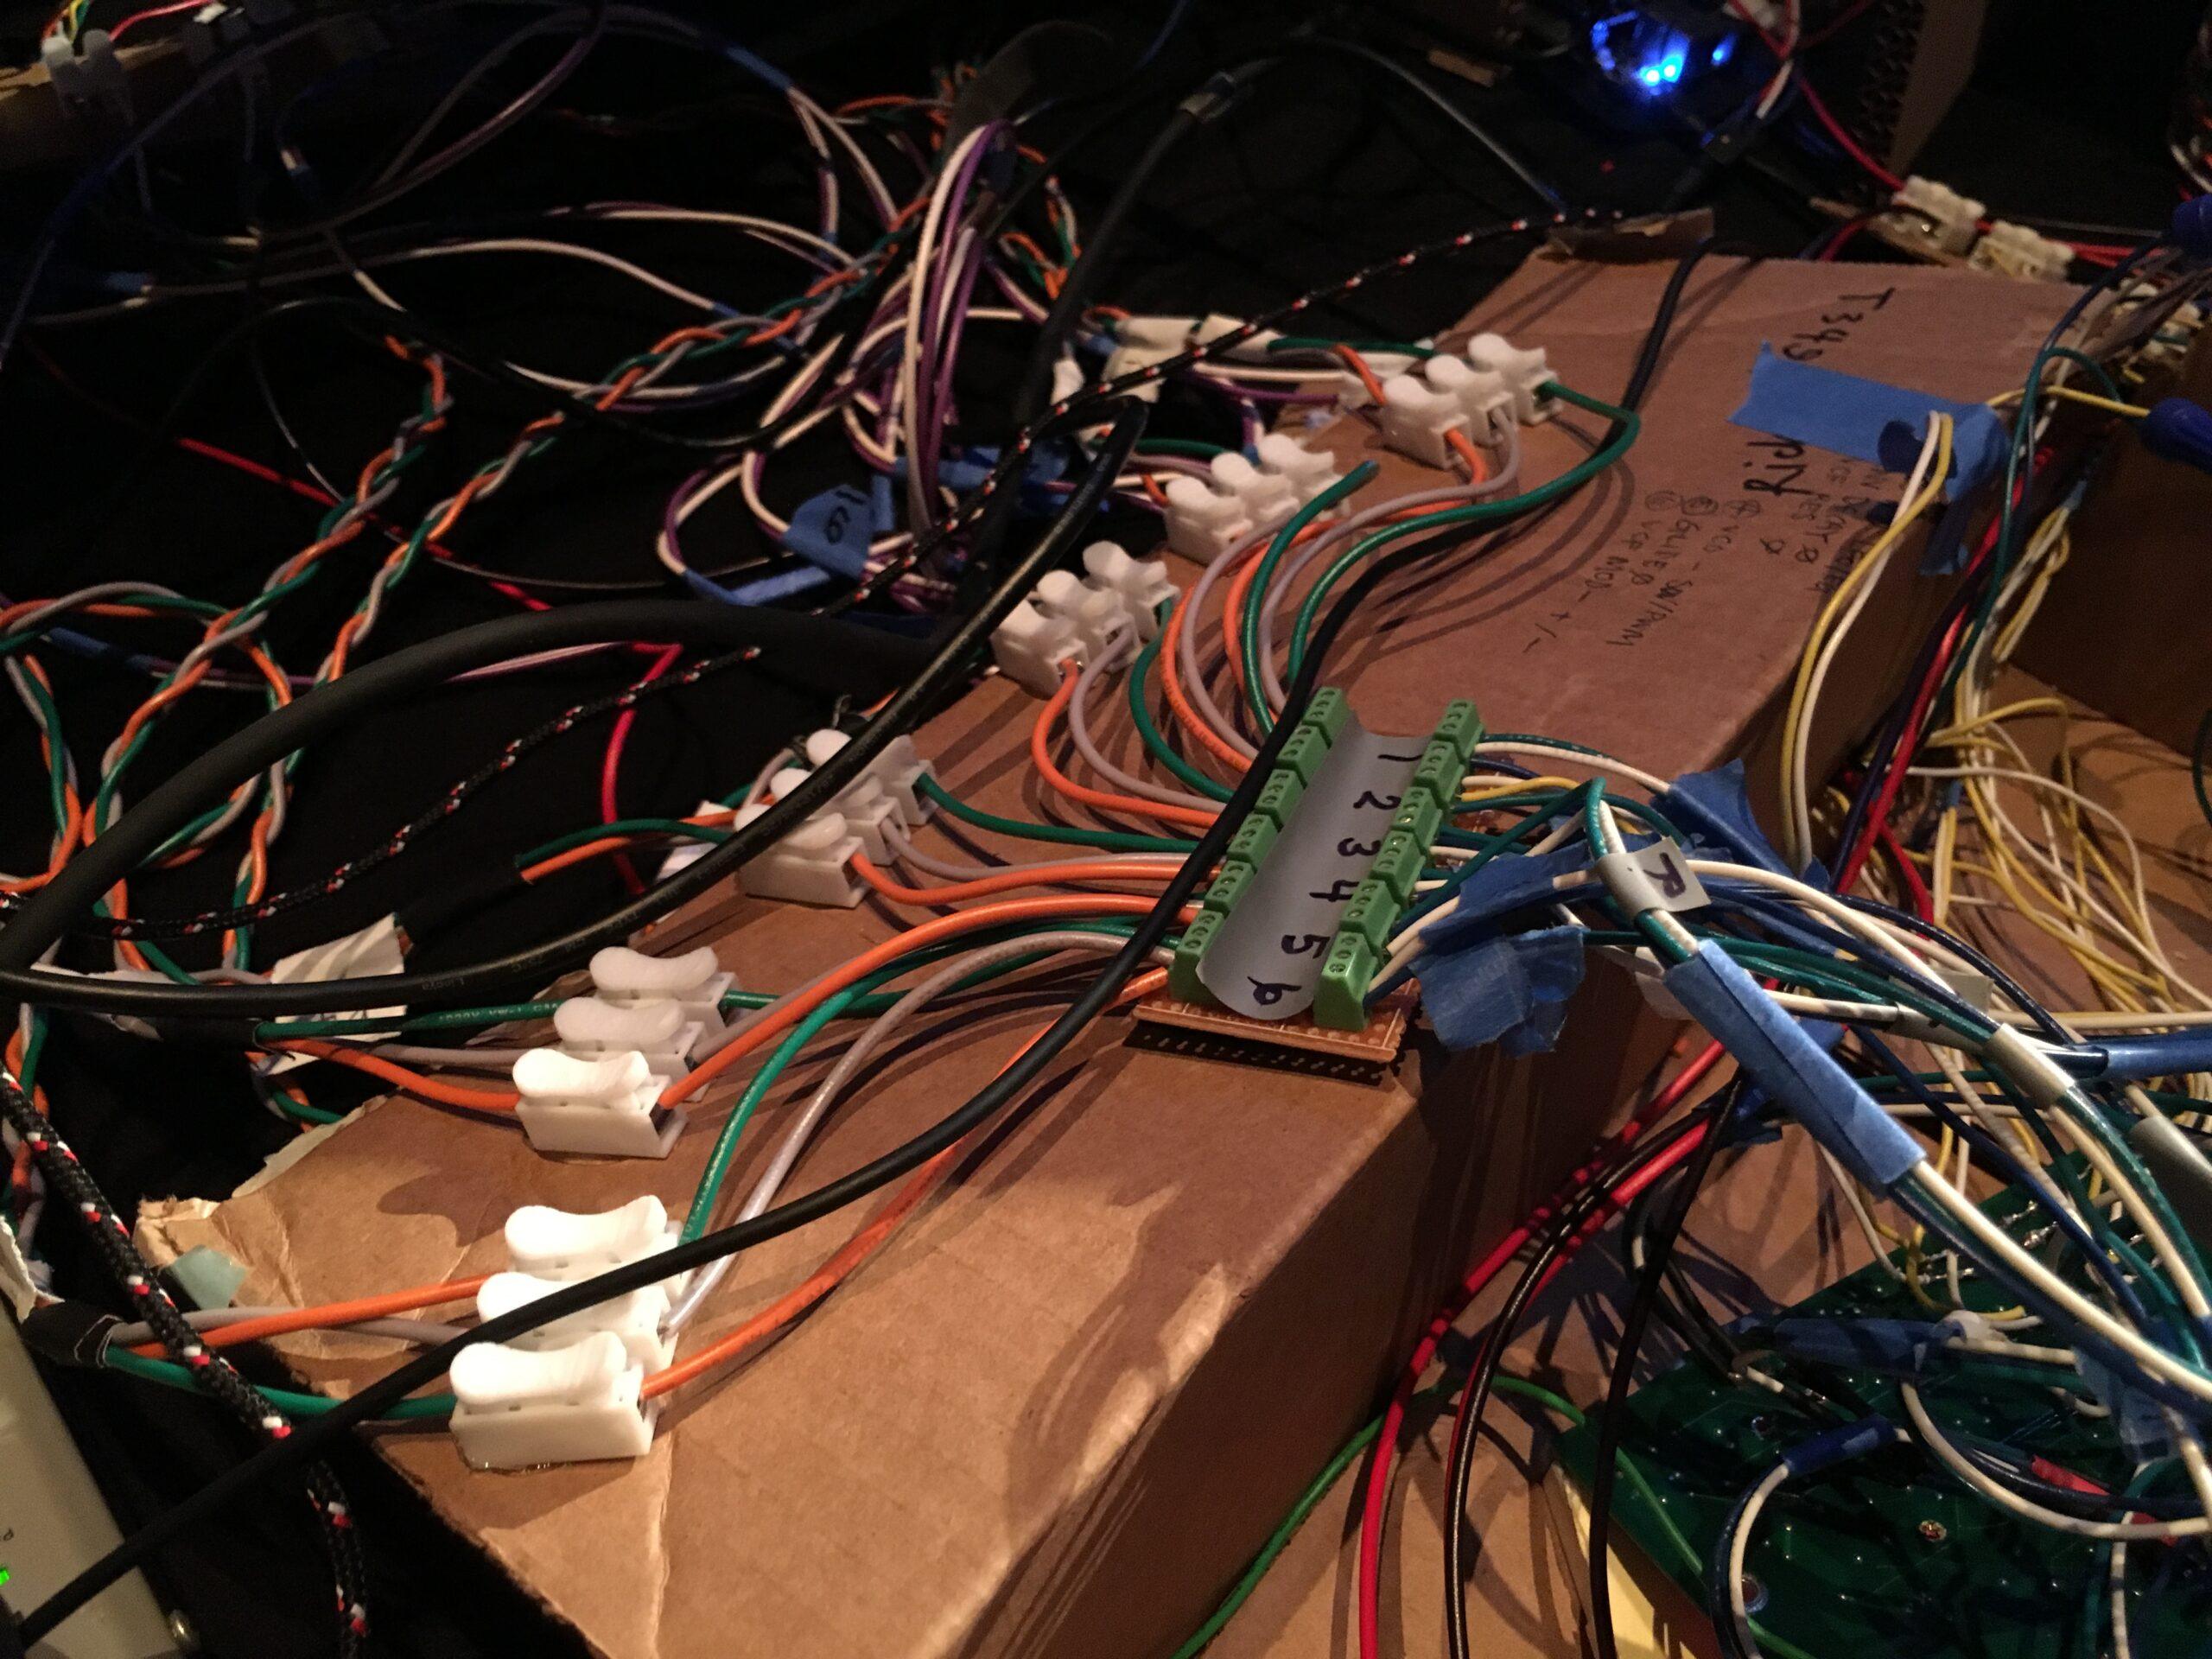
I did the electronic engineering for this system in 48 hours from start to finish, meaning that there was little time for flourish. I soldered wires to the connection points and extended them with more leads attached with solder nuts (little screw-on terminals that can attach multiple wires together without solder), and those leads connected to the oversized interfaces. You can see the picture below (yes it worked!).
We won first prize at the 2019 Moog Hackathon, and were asked to perform this instrument at the Guthman Musical Instrument Contest, and later I performed it on the Adult Swim television network. I rebuilt the system and made it much more modular and easy to move. However I didn't want to lose the chaotic energy it had from the first version so I built it with snap connections, and mounted the central synth into the Amazon box that our arcade buttons arrived in.

Mission Control, version 1. Yes of course it worked why do you ask

Mission Control, final version. Much more robust and portable, built with snap connections.
Playing it
I'm often asked if this synth was hard to play. The answer is yes, extremely; we had to not only understand our own controls and how each could affect the central sound, but we also had to really concentrate on each other. We couldn't see what others were doing, so eye contact and trust were essential.
I wish we had had more time to really master this instrument. Though playing this was challenging it was really musically interesting, and was an entirely new way of interacting with a central sound, as well as other players.
Thanks
This was a collaborative project that required group effort, and I was fortunate to have Ryan Rose and Richard Savery as partners for this process. I cannot thank them enough for bringing their cooperation, ideas, musical directions, and sense of humour throughout this process.
See More